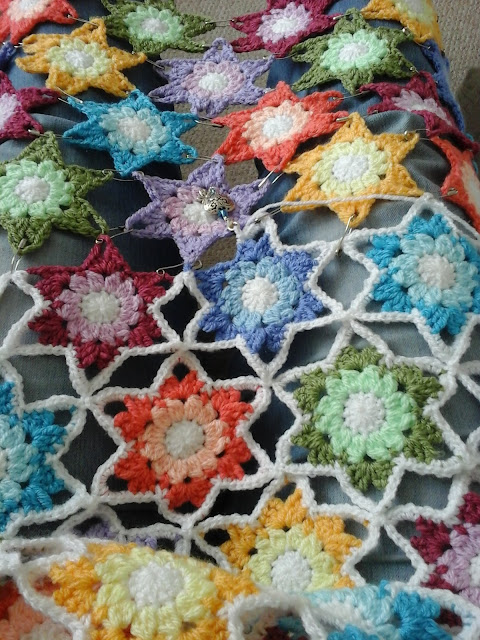
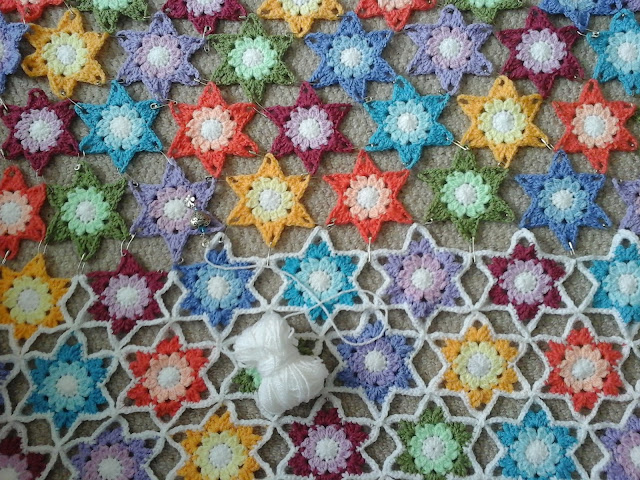
Anyway, like I say, I dragged out another WIP - the Star Blanket I started making for my Mum, way back in the spring of 2014 (can't believe it was 3 years ago, it's flown by!). She died that summer and I put it away to be finished another day. And that day has now come.
I never intended it to be the kind of blanket that would keep you warm - it was more a small colourful throw, that would lay across the bottom half of the bed and look pretty. I started it straight after I had finished my hexagon blanket - long before I had heard the term "join-as-you-go".... All the stars have been individually edged with white and joined to their neighbour. One. By. One. That's a lot of ends to stitch in!
But you know what? While I was looking for a really good join-as-you-go tutorial ready for when I make a circle-in-a-square baby blanket very soon, I saw people asking if you could join hexagons that way - and you know what? You can!! Oh how I wish I had known how to do that when I made the hexagon blanket! Ah well.
So anyway, I had a little think and realised that I could join my stars in a continuous line as well - I just needed to take my time and think about where I was going next and hey presto - join-as-you-go stars!! It'll be finished in no time now!
It's beautifully bright and colourful. I've used Stylecraft Special DK that I bought from Wool Warehouse. I had seen a star curtain on Sue Pinner's blog and I sent Wool Warehouse a picture, asking if they could suggest which colours I could use to make my own version. They were most obliging and I quickly set to making "pointed" flowers, which would then be joined to form stars. Very effective.
It shouldn't take took long at all to finish joining the stars - I've completed 2 rows already today and I haven't really spent long on it at all. Once they're joined, it will get a good wash to really soak the yarn to soften it before being stretched out to dry naturally. I may then give it a little steam as well. I want all the edge stars to stay pointy, not curled up.
But what I do with it then I don't know... It would make a really colourful wall hanging but I have no-where at home to hang such a thing. ) Oh how I wish that I had a craft room...)
So if you have any ideas what I can do with it, I'd be very interested to hear them. It would be a shame to fold it up and hide it away again...
More photos soon!! T xx


Hi like your star blanket i have looked at the other star blankets but yours is the best is it possible you could wright down the pattern please many thanks janet
ReplyDeleteHi Janet,
DeleteThankyou for your kind words - I'm glad you like my "blanket". I sort of made it up as I went along, so I don't actually have a pattern I could write down. If you look at my Ravelry project page there are some links to where I got the idea and a pattern for the stars themselves. I've had a look today and updated a link that no longer worked.
http://www.ravelry.com/projects/Tinaspice/crochet-star-blanket
Sorry I can't be of more help...
Tina :-)