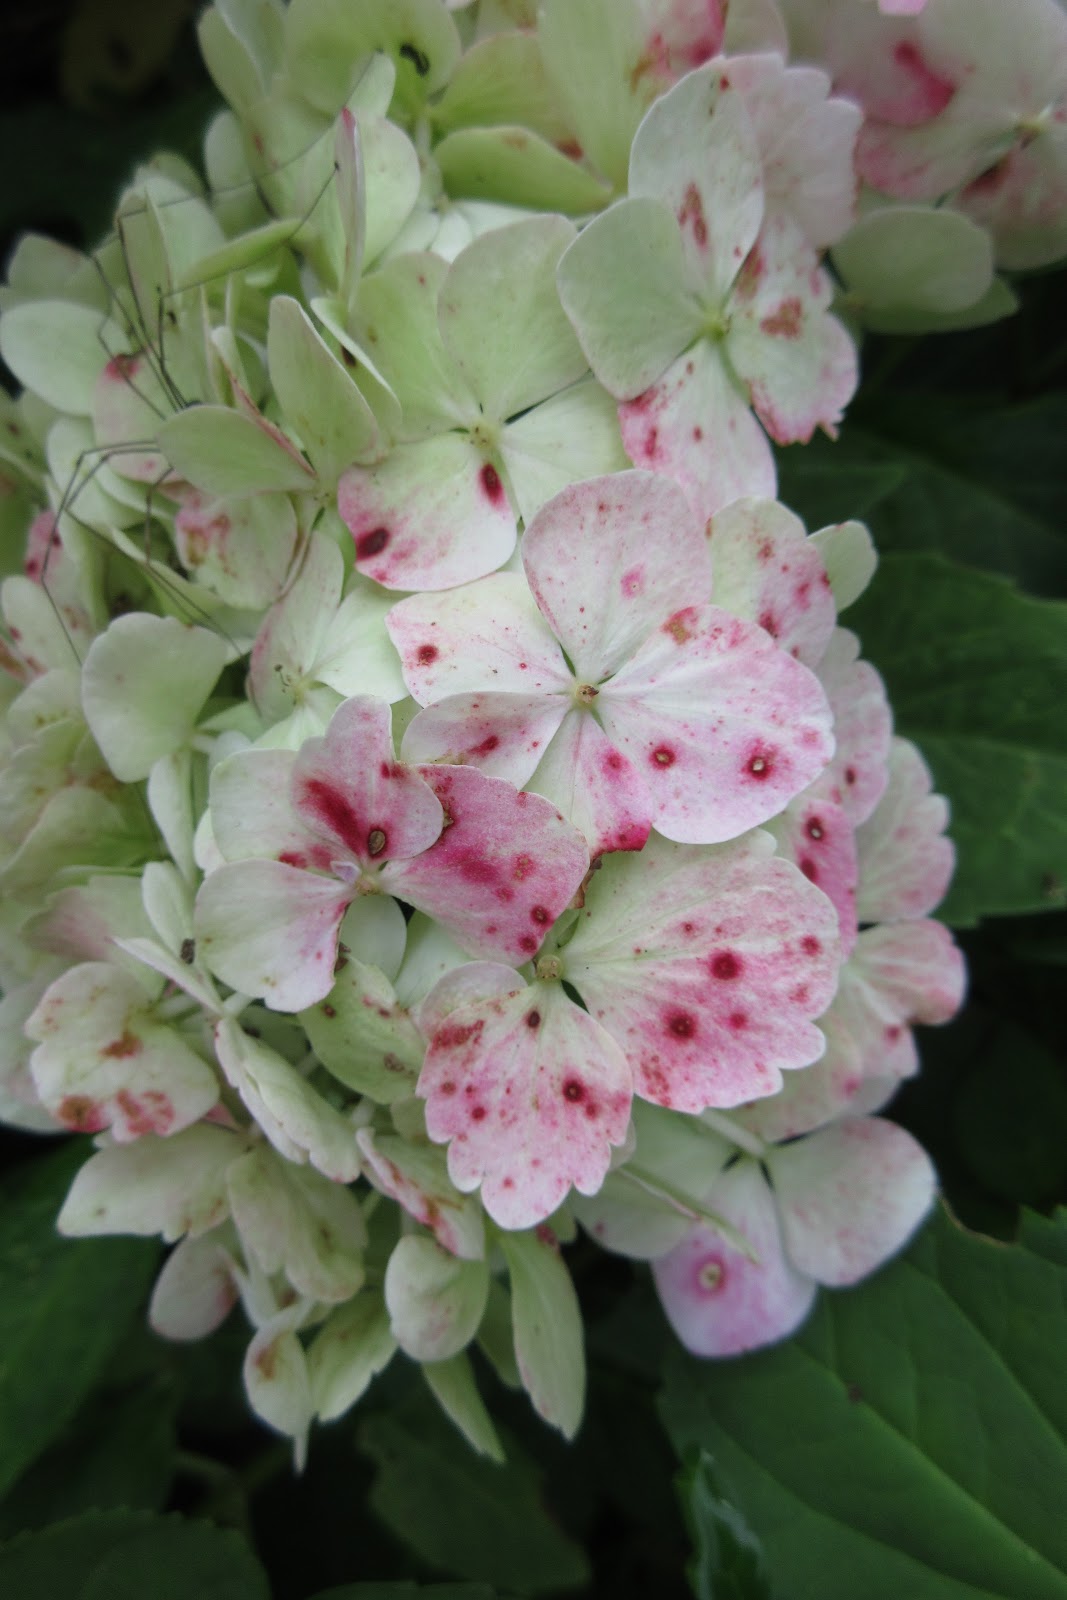
Have you ever been to Yarndale?? It's a "woolly craft fair" over 2 days in September - it takes place in Skipton in Yorkshire, which is a loooooooooong way from where I live so I've not been yet. Every year they have a creative project and put up a big display and this year it's Hearts. All the details have been posted by Lucy and can be found over on
Attic24. Here's one I made, using some of the leftovers from my gorgeous leaf edged scarf (you know, the one made with the hand-dyed yarn). This one isn't actually going to Yarndale, as I made it for someone, so they're getting one in Lucy's Harmony colours.
It's a nice pattern and works up very quickly and easily. I posted this pic on Instagram and was chuffed when I saw the following -
How lovely is that?? I did a happy little dance when I saw it and quickly took a screen shot before it disappeared! Not long after, the following happened -
You know I really can't tell you just how much I enjoy my little space on Instagram and if you do happen to keep popping in here in blogland and I haven't posted anything new, then please do pop across there and have a look. (There's a link in the sidebar.) I'm not sure if you need to be a member just to view or not but maybe you could set up your own account and then say hi?? Yes, Instagram even has a little messenging service plus you can leave and reply to comments.
I love Instagram in much the same way I hate facebook....
But anyway, I'd been watching the number of followers creeping up - sometimes fast, sometimes slow and finally it got to 500!!!! So I did the happy dance thing again, then posted a screenshot. Woo hoo!
Recently, the pics I post have centred around my large sized tooty stripey blanket, aka the tooty harmony blanket - it's coming along very nicely and on last week's cold summer days, I was able to snuggle under it while I hooked. Want to see??
But I've posted pics of something new recently.
Yes, not content with having a big blanket on the go, I've started not one but two baby blankets!! There are 2 people I know who are "expecting" their first grandchild in November, so I thought it would be nice to make blankets for them. I'm using my Harmony Blanket colours as there will be ample yarn left over and I'm following the colour placement of
Lucy's Summer Harmony Blanket (although not following her harmony square pattern).
At the moment I'm making the "flowers in the snow" circles that I used in my Tooty Fruity Blanket and I thought I would join one blanket with white and maybe the other with colours. Maybe!!
Here are 6 little blue circles in a very Instagramesque photo -
They were followed by 6 circles in each of another 16 colours - 102 in total!!
Then they matched with their round 2 colour, as per Lucy's colour chart. Don't they look cute?? Almost like they're wearing little hats!
I haven't finished all the round 2 colours yet, although they don't take long at all - and I've even been really good and stitched in every single end as I go too! I can't wait to see what they look like when I start adding round 3 and then the tricky bit will happen. I will have a pile of 102 circles which were designed to make one blanket but I'm then going to split them into two piles so I can make 2. Only I need to split them carefully so I still get a good colour balance... Not sure how well that bit might turn out though. Watch this space, as they say! Or better yet, watch Instagram!!
Now if you are already on Instagram and depending who you follow, you might be aware that there is such a thing as International Granny Square Day on August 15th. It's a day when you post a pic of your favourite granny square with the hashtag #grannysquareday2017, so that when you search for the hashtag, you get a whole screen full of granny squares that form a virtual blanket. This seemed like an excellent idea, so here are my contributions -
The one on the right is a bit of a cheat really!! I made it at work in the shop on Monday and wanted to do a large circle in a square but I just couldn't square it off properly. So I gave up and made a large plain white granny square edged with moss stitch and then laid my circle on top. I never even got as far as stitching the circle in place! When I have time, I might go back and revisit it, as I keep thinking a daisy blanket would be a nice thing to make...
I've made a few of the pink daisy squares while I've been in the shop recently but I never remember to take the instructions with me and they're all different sizes!! Ah well. They were just a little time filler.
ust before I go, let me show you this -
This is Sally of Colourmecrochet on Instagram and she's the first person to tell me that she's making my tooty stripey blanket!!!!!!!!!!! 😊😀😄😃😆😉💕 Yay! That's so exciting! I'm really looking forward to seeing her progress.
Right, I'm off to hook a few more rows myself! Bye for now, T xx