Showing posts with label needle-case. Show all posts

Wednesday, 17 February 2016

A whole year on-line !!

It dawned on me recently that I've been writing my little blog for almost a year and maybe I should write a round-up post, like other bloggers. (And I must apologise that my blog writing has been somewhat disjointed and often jumps from subject to subject - I still haven't quite got the hang of it!)
Originally, I had intended my blog to be simply about crafting (Allsorts of crafting) but it hasn't quite turned out that way. But I think perhaps an anniversary round-up should concentrate on the crafting side of my life, as that is an area that has given me great pleasure throughout the year. And I may throw in some photos from Hillier Gardens and the like. I find a walk in pleasant surroundings always soothes the soul.

So, do I go for just for a timeline of photos of what I've made and what I've seen? Or a bit of text with some links so you can go and read about it?? Maybe a mix of the two?? Or make it up as I go along and hop from subject to subject?!

Let's start with Emma's blanket - that's the Stripey Crochet Blanket that I originally used for my header (although I have now changed it, albeit temporarily). You'll see a link in the sidebar to my Ravelry page for the blanket. I never wrote a pattern for it but there is some info about it and the links to the lady who wrote the pattern that inspired me.Watching the "view count" gradually going up has given me a lot of pleasure in the 3 years since I made it and you may have seen the screen dump I posted recently when it reached 11,111 views.

I had quite a shock last week when I was happily cruising around Pinterest (I loooove Pinterest in case you haven't realised) and by chance came across another of the Ravelry pics I'd posted and noticed it had been re-pinned 34.3k times. Yes, over THIRTY FOUR THOUSAND times!!! Woo Hoo!!

It seems strange to think that so many people liked it enough to re-pin the picture and clearly, quite a few of them followed the link to Ravelry and possibly from there to this blog. Fancy that!

Maybe one day I'll get round to writing a proper post about the other 2 blankets you'll find in the sidebar - the hexagon blanket and ripple blanket. They haven't been viewed anywhere near as often. But maybe one day...

Looking back through my blog, the next project I shared was a book cover. This was in response to something I had seen on Pinterest and I wanted to make my own version. I will add a link here to my Book Cover as that's my first try at a tutorial. You'll find links there to a better tutorial that I followed, along with the reasons why I was making it and who it was for. Those reasons still continued to echo through my life to this day.

Tina's Allsorts

Tina's Allsorts

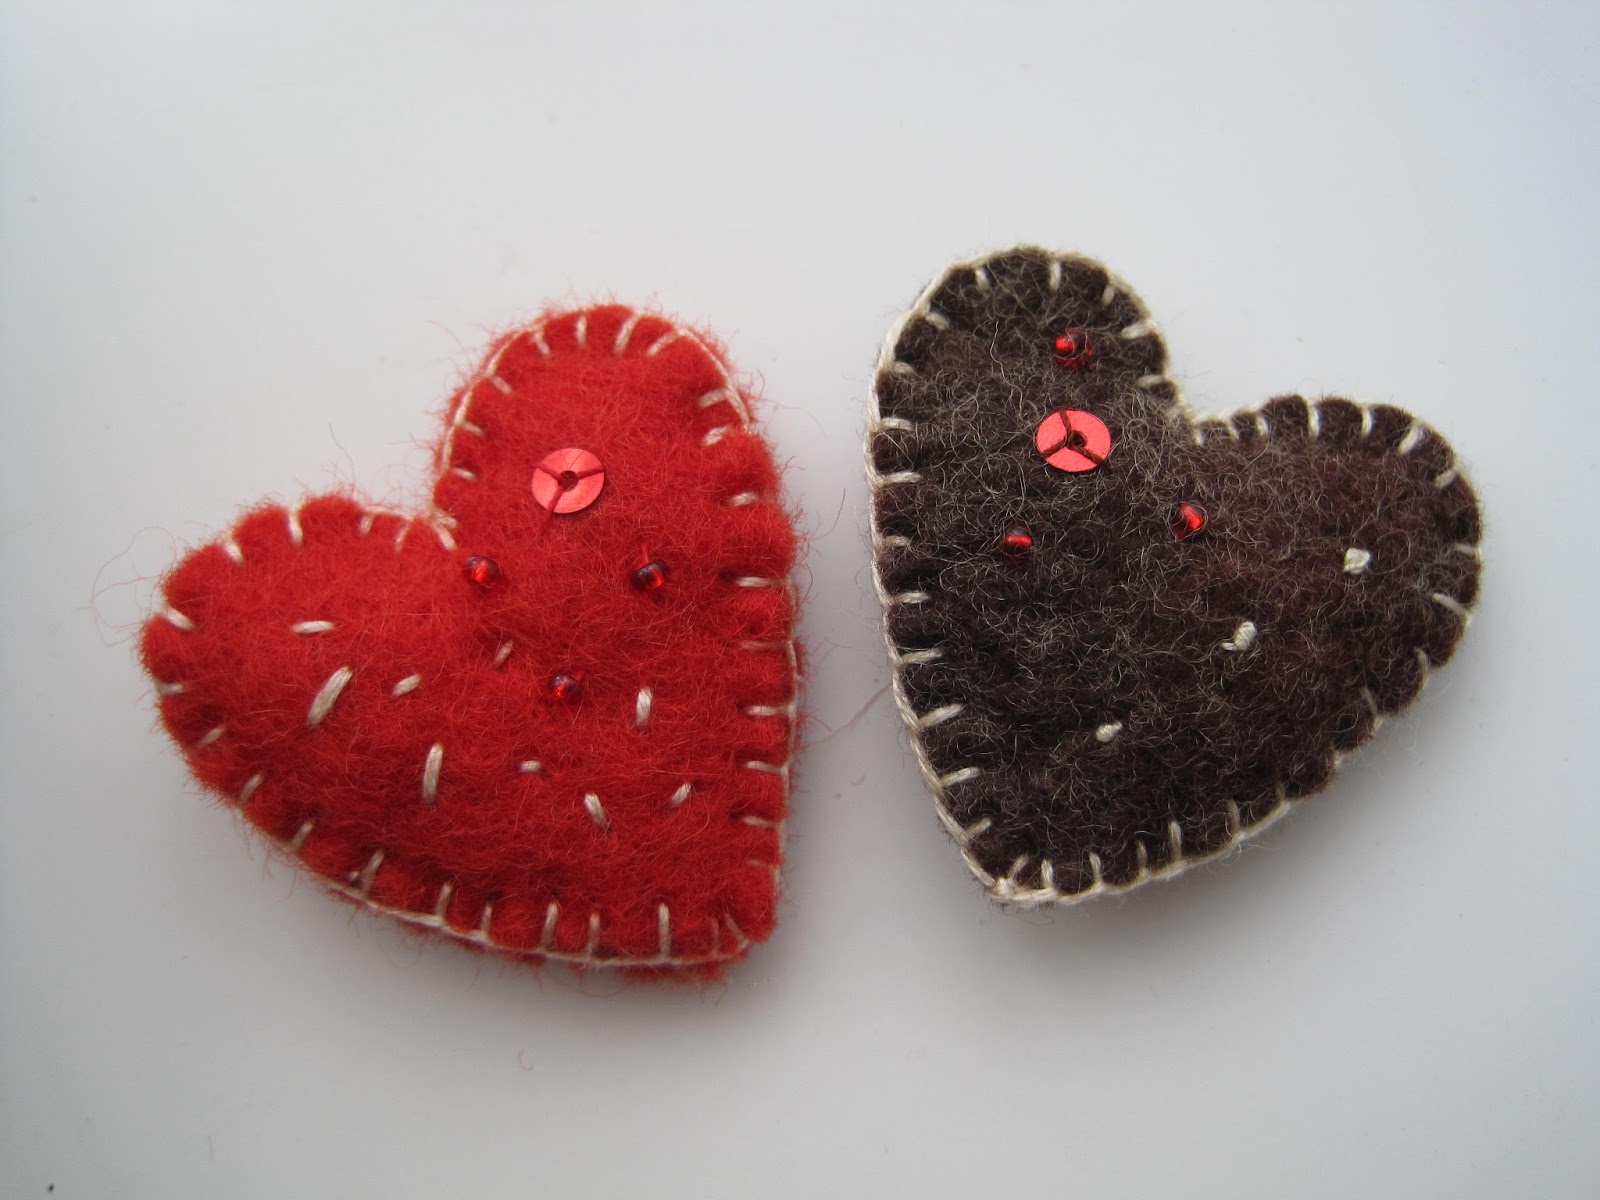
Following hot on the heels of the book cover was Pocket Love, which if you are a regular reader you'll know I have returned to recently. The original idea came from HERE and is a simple, yet very sweet idea.
I think I'll keep returning to these little love hearts as they are a true pleasure to make.


Tina's Allsorts

My next project was a needle case. Oh what an absolute JOY it was to design and make! There have been few things I have enjoyed making as much as this sweet little needle case. It's one of the best things I've ever made and I love everything about it - and it's currently being used as my blog header. I do so hope Mara, the recipient, loves it too and is making use of it.

I enjoyed it so much, I took lots of photos along the way and used them to write a TUTORIAL which has it's own page. There are links there if you'd like to read more about who it was for - it's part of that echo I mentioned.

I made some other little bits to go with it and then put together a sewing kit with everything I could think of that might come in handy. I often wonder if Mara uses it. Or maybe her Mum does.

Tina's Allsorts

During the sewing kit's journey to the far side of the world, I came to hear about Dress a Girl Around the World. This is an international project that aims to give every girl at least one best dress. Or for the boys, shorts.
I realised this was something I could easily get involved with and having followed some links to find good free patterns, I proceeded to make quite a few dresses and shorts.

Tina's Allsorts Tina's Allsorts
I tried to make/write a pattern for this little version of one of the dresses I made and a link to it was added to the "Dress a Girl" website, and lots of you have come via that link, for which I Thank You.
I plan to make some more dresses for this very worthwhile project soon.

The little smiley face was designed to go in the dress pocket, so the girl receiving it would have her own little toy to treasure.

Tina's Allsorts
Around the same time, I was also working on a Chicken Doorstop Tutorial. Something else I really enjoyed doing.

They were quickly joined by paperweight sized chicks.

We're six months into blogging by this time and August beckons. There were lots of garden visits and walks but I think I still managed to make a fair amount that month. The thing that sticks in my mind are the boys shorts as part of the Dress a Girl project.

Tina's Allsorts
Life started to get a bit strange for a while after that - for want of a better word. I was still making things but with the intention of trying to sell them to supplement my income. It turned out to be a complete waste of time as almost no-one wanted what I'd made. I won't talk about it further, just share a pic of my favourite make. I actually kept this zipped purse - it was the first one I made in this design and I used my favourite fabrics at the time (from Mara's needle case) and it's currently filled with all the bits I need to make the Pocket Love Hearts.
Tina's Allsorts

After that, work became so busy that for the next 3 months there wasn't much time for making things. I managed to make some crochet flowers which I shared amongst family and friends - which were sort of a contribution to Flowers for Memories. These were my favourites -

Tina's AllsortsTina's Allsorts

Then Christmas came and went and in January I started work on a crochet mandala cushion cover. It turned out somewhat gaudy I must admit, but the recipient didn't mind one bit. 

Tina's Allsorts

Tina's Allsorts
If you visit regularly, you will already have seen the Valentine Pocket Love pic. This was a January/February project I worked on as a fundraiser and every single one sold!


And that brings us up to date with the crafting really, other than to say, if you look up at the tool bar you'll see a Tea Cosie tab. I used to make them to sell for charity and thought it might be nice to share some, should you want to take a look. Every so often I go back and write a bit more as I come across photos.

Shall I pick some "garden" photos now? I take so many, it's probably best just to pick them fairly randomly - I'll be here all day trying to choose favourites! I'll try very hard not to pick too many! And in case you're wondering about the second photo - no, there's nothing wrong with your eyes or your screen, there really are 2 bulls-eyes mowed into the lawn!!

Tina's Allsorts

Tina's Allsorts

Tina's Allsorts

Tina's Allsorts

Tina's Allsorts

Tina's Allsorts

Tina's Allsorts

Tina's Allsorts

Tina's Allsorts

Tina's Allsorts

Tina's Allsorts

Tina's Allsorts

Tina's Allsorts

Tina's Allsorts

Tina's Allsorts

Tina's Allsorts

Tina's Allsorts

Tina's Allsorts

Tina's Allsorts

Tina's Allsorts

Tina's Allsorts

And that's it. A year in the life of, so to speak... 
For  a while I did consider winding up my blog but I think I'll keep going for now at least, although probably not as often. But I'll try and bring in more crafting if I can.

Thanks for reading - I really do appreciate it even if I don't say so. Bye for now,
Tinaspice xXx

Tina's Allsorts


Wednesday, 16 September 2015

Oooh, look what I found

I was just hunting through some folders of photos on the pc looking for something and came across this -


This is a little needle case that I made for a friend's birthday a couple of years ago. All my own design with the cover and sheep's body being crocheted, and I used a fancy Aida ribbon to make the pages inside. I popped in a few pretty heart pins to finish it off.

I made lots of these little sheep at one point. Most were made as brooches, with the few remaining used on mug hugs and this little fella on a needle case.
He's very easy to make - just a bit of a fiddle!! I don't know that I ever actually wrote the pattern down anywhere as I made him up as I went along. The body is made from boucle yarn in an oval shape, with "string" legs stitched to the back. I think I cut an oval from stiff interfacing and slip stitched the body to it, adding a little stuffing to make him plump before cutting out a simple head shape from black felt and gluing it on.
Maybe I should sit and write the pattern up and put it on my Ravelry page??
  
I got a bit carried away with the sheep at one point when I saw a bobbly crocheted drawstring bag that held a bar of soap. And I thought "baaaaa of soap"...

Sunday, 12 April 2015

Mara's Sewing Kit

In case you haven't been following what I've been making and why, here's a quick recap.
One of my friend's sponsors a 12 year old girl called Mara, who lives in the Philippines. He's going to visit her very soon, through the company that organises the sponsorship - Compassion.
I wanted to make something for her and decided initially on a book cover. Then I made some little hearts, which was followed by a needle-case and then putting together a sewing kit.

This is the final stage - the sewing kit. I've bought all sorts of bits and bobs to go in it and quickly "out-grew" the little tin I bought for it. So I bought a second one. And filled it. Then I bought a third one. And filled it. The rest will have to just go in a little bag, I daren't buy another tin...
Here's the bulk of the bits and bobs I've collected - including a mini bar of chocolate, a bird brooch and some brooch pins.
Sewing Kit Tins
I went through (some of) my fabrics and pulled out/cut some small pieces in an assortment of colours. I got carried away and ended up with a pile that Fills the extra tin I bought...Luckily, due to the decorating, a lot of my fabric was packed away, or I might have chosen enough for 3 or 4 tins!!
Hopefully, she and her friends can use it to make all sorts of things with it (all sorts, get it??) and who knows, maybe they'll be able to make things to sell and earn themselves a few pennies...
Sewing Kit Tins
Wouldn't you just love to have a sweet little tin full of fabric to play with??
Sewing Kit Tins

Sewing Kit
Hopefully, I've managed to fill these little tins with the right tools to make a really useful sewing kit for Mara.
Who knows, maybe she'll develope a love of crafting and designing like I did and will still have these tools into adulthood...

I've really enjoyed putting it together and making things for Mara. What am I going to do now?...

Scissor keeper, pin cushion & pin box

One of the blogs I read is Sandra of  Cherry Heart and just over a year ago she posted a lovely little crochet Boho Heart she had designed. (She has a lovely blog and it's well worth a look if you have time, with lots of pretty things she's made - some with a free tutorial and some with patterns for sale.)

I used Sandra's pattern to make myself a little padded scissor keeper. It's also very handy to use as mini pin cushion/needle holder when you're crocheting or sewing and constantly cutting off ends etc.
Heart Scissor Keeper
I simply followed Sandra's pattern and made 2 hearts, then crocheted them together with a little stuffing inside. I added a few beads as decoration and a crocheted loop to attach it to my scissors.
I thought it would be nice to make one for Mara to go with the little pink scissors I've bought - 
Boho heart scissor keeper
As soon as it was done I got cracking with the pin cushion. (The decorating is drawing to a conclusion so we were able to put the dining table up - hence the sewing machine came out to play for this one!!) I used the lovely floral fabric from the needle-case and the last scrap of lace from her book cover on one side, and that last teeny piece of pink gingham managed to sneak in on the other side. I had seen some lovely pink polka dot binding that had a little white picot edge and just had to buy some. However, it was very hard to attach and doesn't look brilliant. Had I thought through mitring the corners and joining the ends, I would never have used it... 
Pin cushion

Pin cushion
Those sweet little heart topped pins you can see in the picture needed an equally sweet little box to keep them in. I used an empty swan vesta match box, which I gave a couple of coats of pva glue to stiffen it nicely. Then it was covered on the outside with some pink patterned paper and the inside had a pink felt lining.
Swan vesta pin box
(It actually took ages to make but turned out well.)
(Update - Do NOT line your pin box with felt! Your pins will grab hold every time you try to put them in! Line with paper.)

Then I returned to the needle-case one last time. I had emailed a lot of the staff at work asking them to each donate a button or 2 to go in the sewing kit. Some of the buttons were so lovely that I stitched them into the needle-case. In the front I put an antique glass button from a 1950's dress. And in the back, several colourful buttons.
Needle-case

I think I've made everything I wanted to, so it's time I actually put together the complete sewing kit.
But that will get it's own post!