Sunday, 29 May 2016

Ta - dah! Again!

Only a week later and another ta-dah already! This time it's the Springtime Baby Blanket.
I mentioned recently that all the squares were finally made and I spent last Sunday morning laying them all out and moving them around until I was satisfied with the arrangement.


Tina's Allsorts, Springtime Baby Blanket

Tina's Allsorts, Springtime Baby Blanket

Then I tacked them all together and got on with the job of joining them.
I neglected to take a photo of my joining method but it was very easy and went together quickly.
I simply held the squares together with wrong sides touching, then worked a row of double crochet stitches through the back loops of both squares. I worked all the "short" rows first, then did the long rows, working 2 ch to help "hop" over the first row where the squares meet.

The border was very simple in the end. I'd seen something lacey online but decided my blanket only needed a simple little something to finish the edge and a lacey little something might detract from the centre.
So I worked a row of trebles and spaces, then a row of trebles, then both again. Perfect!!

I love the texture of the raised lines of double crochet around the squares. I'm glad I blocked them first - it made joining them much easier. I tried adding a line of dc in the back loops around the outer edge before working the border but it didn't quite work, so I used that line of stitches to work the border into instead.
I went back afterwards and did a line of surface crochet right the way round to finish. That did the trick.
Want to see some more? Just look at that lovely texture!

Tina's Allsorts, Springtime Baby Blanket

Tina's Allsorts, Springtime Baby Blanket

Tina's Allsorts, Springtime Baby Blanket

Tina's Allsorts, Springtime Baby Blanket

Tina's Allsorts, Springtime Baby Blanket

Tina's Allsorts, Springtime Baby Blanket

It still needs to be washed and blocked - I didn't have time today as I wanted to get out in the sunshine while it was with us. I haven't therefore, taken many photos of the whole blanket as the corners aren't nice and sharp yet. Here it is slung over the back of the sofa. You know, it's just occurred to me that I haven't even measured it yet! But it's the right size for a baby anyway. Let's hope the proud new parents like it!

Tina's Allsorts, Springtime Baby Blanket

The next project is already under way of course - here's a sneak peak.I'll tell you all about it next time.


EDIT: Now washed and blocked - and measured! It's 22" x 29".

Tina's Allsorts, Springtime Baby Blanket

Sunday, 22 May 2016

Ta - dah!

Not only a Ta - dah but my one hundredth post! I thought I would have got fed up with this blogging lark long before now, so I was pleasantly surprised to see I'd reached 99 posts. It seems fitting that number 100 should coincide with a show and tell moment.
No, not the baby blanket but the cushion / pillow cover.

Last weekend I needed a break from 2" squares, so cracked on with the pillow cover. I had to wait until yesterday to get some buttons for it but it's now finished and looks fab! Although the woman in the wool shop said "what is it?" in an oh-my-god-that's-so-ugly-what-the-hell-is-it tone of voice... she didn't win any points there!
It is, however, my favourite haberdashers/wool shop and they now have the most fabulous range of buttons. Just look at the size of their button wall!!


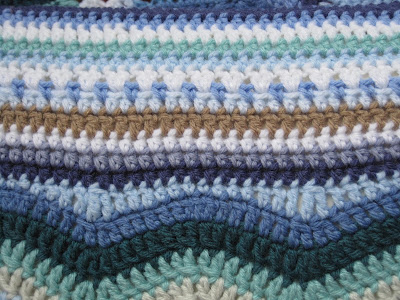
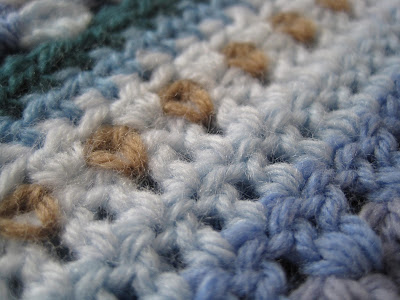
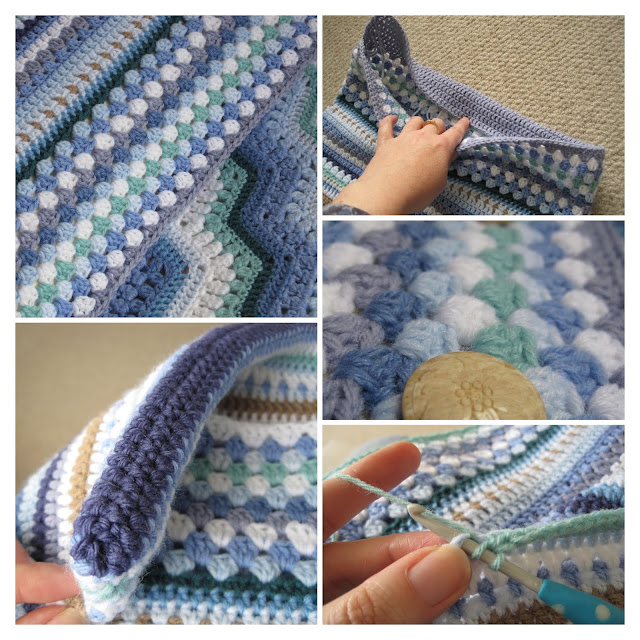
But back to my ta-dah moment. Naturally I've taken far too many photos which means there's also far too much choice in what to show! And yes, some photos show the wrong side. All the rows were worked from one side only but strangely, I also really like the texture of the wrong side. I think I mentioned way back that what I don't like with crochet is the "garter stitch" effect of working from alternate sides. Anyway, back to the photos - are you ready??...

Tina's Allsorts Ripple Cushion Cover

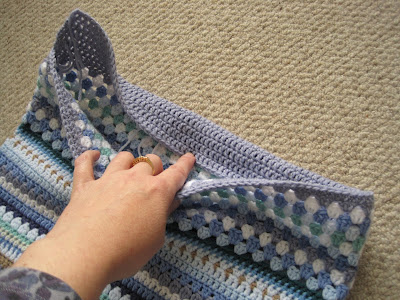
This is the little flap that tucks inside that I'll stitch the buttons to.

Tina's Allsorts Ripple Cushion Cover

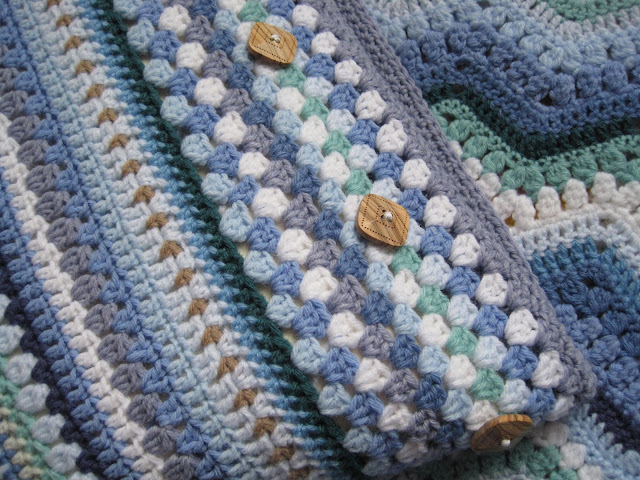
I chose 2 sets of buttons - functional on one side of the cover and decorative on the other.

Tina's Allsorts Ripple Cushion Cover

Tina's Allsorts Ripple Cushion Cover

This is the "closed" end - a row of double crochet worked through both layers from the wrong side.

Tina's Allsorts Ripple Cushion Cover

Tina's Allsorts Ripple Cushion Cover

Tina's Allsorts Ripple Cushion Cover

Tina's Allsorts Ripple Cushion Cover

Tina's Allsorts Ripple Cushion Cover

Tina's Allsorts Ripple Cushion Cover

Tina's Allsorts Ripple Cushion Cover

Tina's Allsorts Ripple Cushion Cover

Tina's Allsorts Ripple Cushion Cover

Tina's Allsorts Ripple Cushion Cover

Tina's Allsorts Ripple Cushion Cover

Tina's Allsorts Ripple Cushion Cover

Tina's Allsorts Ripple Cushion Cover

Tina's Allsorts Ripple Cushion Cover

Tina's Allsorts Ripple Cushion Cover

Tina's Allsorts Ripple Cushion Cover

Tina's Allsorts Ripple Cushion Cover

Tina's Allsorts Ripple Cushion Cover

Tina's Allsorts Ripple Cushion Cover

Enough? Ok!

The Cathedral also had a bit of a ta-dah recently when they revealed the shiny new lead on the roof. We had a sunny day this week and it looked lovely -


This is the East end. The West end  didn't need repairs so still has its weather look -


You cn just see the lovely sun dial at the top of the wall at the right hand side. 

Well that's all for now - hope you like all the pillow cover photos. Till next time, Tina x

Saturday, 21 May 2016

They're all done!


Yippee! All 108 are finally done! I've literally just finished the last square. Phew! This is the little batch that now need a quick soak in fabric softer, then block them. Hopefully they'll be dry enough to start laying them all out tomorrow to decide on colour placement. That's going to be easier said than done...watch this space.

Sunday, 8 May 2016

I won a prize!

What with all the excitement of seeing the bluebells yesterday, I completely forgot to mention that I won a prize this week! C&H Fabrics were clearly pushing their news letter and if you signed up for it you were entered into a prize drawer. I thought I might as well and I won 3rd prize! Fancy that!!


It's a very nice knitting book (by a designer I've never heard of but hey...) using Rowan Wool (above left) and what I thought was a small book of old patterns re-worked. But no, it's a cute notebook. I rather like the look of one of the patterns - a cabled cardigan (above right). There were quite a few things I liked really. But if any of them ever gets made it certainly won't be in Rowan wool. Gorgeous wool but too pricey for me...


I bought a really nice sewing magazine this week called Sew Playtime. I think it's one of those occasional special issue things.
It has lots and lots of things to make for children and I just couldn't resist buying it!!
I loved this little "Cat Nap" baby book designed by Josie Day of Sew for Soul. She has a lovely blog all about upcylcing and makes the most amazing things. I often look to see what she's up to, so was delighted to see she has 2 projects in the magazine. And look at those sardines in a tin. They look amazing but I know they would take forever to make. Or if you wanted something a bit quicker, how about asking your child to drawer a picture of them-self, then making it into a doll??

I don't know if I will ever make anything from it but it will certainly give hours of pleasure just leafing through it. Maybe a Christmas present for the family's latest arrival? My niece had her baby on Friday - a girl she has called Violet. The baby blanket I'm making for her is coming along slowly. I think there's still about 30 squares to go, then the joining. The blocking method seems to have worked quite well - the neighbour's cat came and helped me with them...


Not sure how long they will actually stay square until they're joined though, seeing as the yarn is acrylic. You can see how much the centre squared has been "squared up" in the picture below.


The colours look quite good when laid out together. I wonder how long it will actually take me to decide on the placement of each colour when it comes to joining them together?... I want it to look random but balanced, with no two squares the same in each 9 square block. That's going to take some doing! I did read a really helpful tutorial this week by Heather of The patchwork Heart. She has a bright colourful blog full of really good tutorials. Shame her tutorial didn't come a little sooner!


Right - better crack on with it. Those pesky squares won't make themselves!!