I still had the template from the zipped pouches I made a couple of years ago, so I just enlarged it a bit, then went through my stash to find a contrast fabric for the lower part and the lining. And would you believe, I also have a stash of zips...
Here's the first one I made, with a cowl I was working on at the time spilling out the top. (The yarn is lovely to work with and the stitch is crochet moss stitch. The cowl is finished but needs the ends stitching in...)
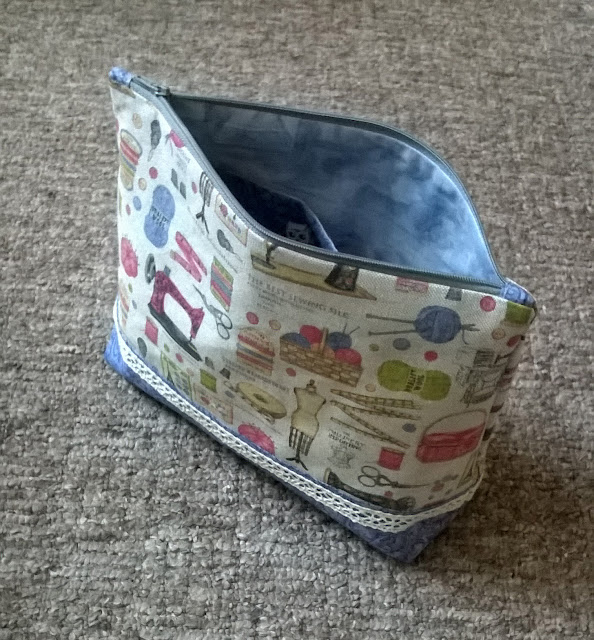
And here's a little photo shoot of the second one I made. I was going to keep the first one for me - it has lime green as the contrast and pink gingham for the lining. But once the second one started coming together with shades of greyish blue fabric, I think I might have changed my mind!!
I went back and looked at the tutorials I've bookmarked in the past for a quick refresher and how everything goes together, then I got busy getting everything cut to size and backed with iron on interfacing, so I could just crack on and sew.
If you'd like to make your own, then these are the best tutorials I found -
kelbysews
sewtogether.
handmadiya
The first is the one I found most helpful, especially with fitting the zip. The second shows how to make your own pattern, and finally, the third details how to make a pouch without a seam across the bottom.
Getting everything cut to size
Adding a pin or two with the help of my pin dalek!
A little detail for the inside
Zip installed!
Add an internal pocket - it's wide enough to lay a crochet hook in it and has a "fake" button to reduce the width of the opening
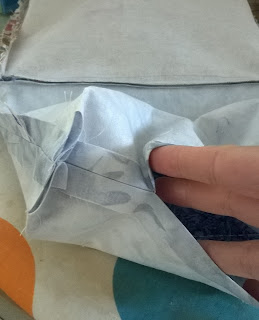
Ok. Not a good photo! It's supposed to show the side seams where they meet the zip
Here's the corners stitched to make the flat base
Forgot to leave an opening to turn it right side out, so had to unpick a few stitches!
Turning through!
Ta-Dah!
I do like that blue. ... maybe I'll keep this one and list the green trimmed bag on Folksy? Or list both and see what sells first? ?
I'll take some better photos in the morning and get them listed.
I've been doing a spot of knitting this week too.
This is for my great niece - the recipient of the Tooty Fruity Blanket. I thought it might work up quicker if I made it in the round but boy, is it Slow Going! That waffle patten takes an absolute AGE! Almost wish I hadn't offered to make it...
I've started playing around with ideas for another baby blanket too. I thought a coloured centre ringed with cream, then join on round 3 with colour. But do I join with squares, or hexagons for a change??
I'll have to make some more samples, although I'm leaning towards hexagons - not made them for years.
And remember the crocheted project bag I showed you last time? Well, I have another on the go now as someone who saw it on instagram asked if I could make one for them! Woo Hoo!
Oh, and one of the harmony baby blankets has been delivered to a little cutie who arrived 5 weeks early. The grandparents (my cousin) chose the one with all the colours.
See you again soon! T xXx


No comments:
Post a Comment