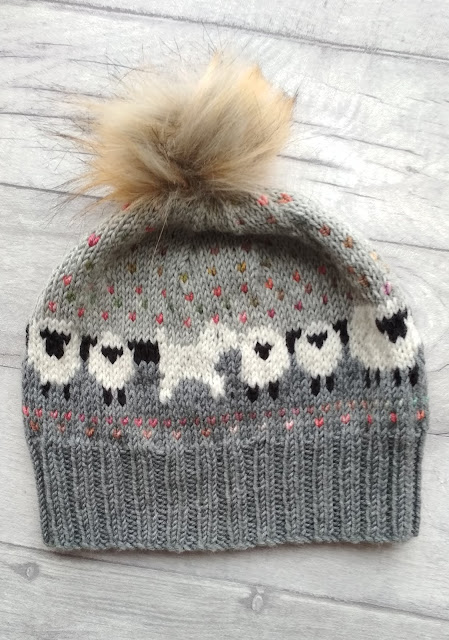
Following on from my last post, my next fairisle project was a bit bigger than a hat!
While was still making the second Baa-ble Hat, I saw a pic of a gorgeous cowl decrated with snoowflakes, that moved from white on blue at the bottom, to blue on white at the top. Very clever and very effective! But I don't wear cowls... so I showed it to my friend and she said ooooooh!!! So I bought the pattern to make it for her!
This what I saw, the Midwinter Neckwarmer -
Isn't it absolutely STUNNING?!!! Here's the link to the pattern -
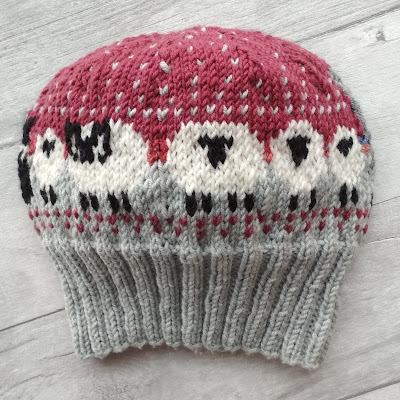
It was made in 4 ply but I reckoned I could leave out a pattern repeat or two and work it in double knit. Wihout delay I went through my stash to see what I had and came up with some cranberry red alpaca (unpicked from a pair of crochet mittens that I never wore) and the silver grey merino I usedin the second Baa-ble Hat (it was a bit on the thin side and I thought it would work well with the alpaca).
I (foolishly) measured the tension on the Baab-ble hat and came up with an approximation of what my finished cowl might measure. I went for 5 pattern repeats instead of 7 and merrily knitted away, in what I still thought was the correct technique. But you know what? It wasn't quite the right technique...
Remember that link to
Little Cotton Rabbits I shared last time?? Well, I should have gone back and re-read it myself
before starting the hats...
I knew she had said you had to always hold the dominant colour in a certain postion to make those stitches stand out - but my memory of what she said switched them around... I held the dominant colour in the background position. But at least I did it all the way through!
It also came out a bit on the small side... that's what comes from measuring tension on something that isn't reall'propeeer' fairisle - and is so small it doesn't really lay flat!
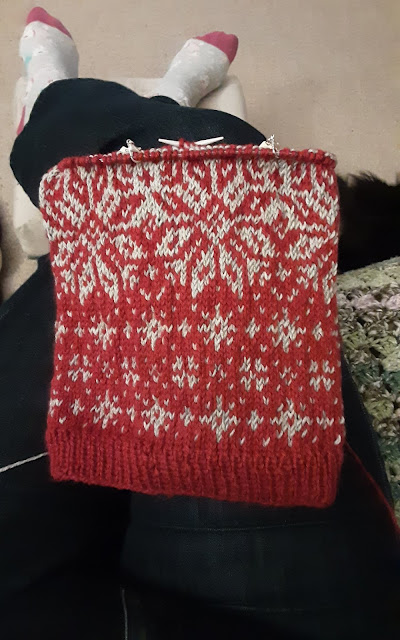
If you look at the photo above - and you know what to look for, which I didn't... the second row of motifs looks like a red cross doesn't it? But the red should sit in the background... See what I mean? But I didn't know that at the time, I thought I was doing it right and so merrily knitted on as I was quite enjoying the process.
This photo shows the main snowflake which changes from one colour to the other in the middle. It also shows the row I was on is wrong, as it's almost all red stitches when it should have been grey stitches.... (And please excuse the feet! I should have cropped the photo!)
Anyway, I happily carried on, after unpicking that red row.
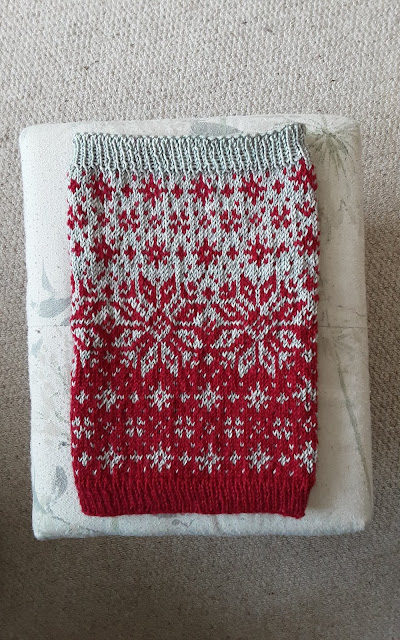
It's very clever, the way the pattern changes isn't it??
I knew by this point that I had made it too nrrow... and too long! But it was a 24 stitch repeat and an extra repeat would have added up to 4 inches. I thought I might as well finish so carried on and worked the final ribbed edge but didn't do the fancy cast off the pattern suggested as therewas a chance I might rip out a few rows to shorten it.
Here's the (initial) finished version -
And the inside -
But as I've already said, it was too small... I could just get it on but it felt like a very close fit. For a cowl that could almost become 'clostraphobic'. I showed it to my friend and whilst she really liked the design, agreed it was too narrow and too long.
And I really didn't like my cast off top edge at all! So I ripped back all the rib and th top row of snowflakes. That would bring the width and length back into proportion at least and I hoped that some blocking would stretch it a bit.
But how to finish that top edge??? I decided to go for a simple reverse stocking stitch rolled edge, as there was a chance I would unpick it again and tackle the fancy ribbed cast off later.
And this is what I got -
A rolled edge that rolled - outwards!! Not just the edge rolled though but the top few rows as well... What to do? I decided that as I'd come this far, I might as well wash and block and see what that did.
With the blocking, I found a book that was the right finished width I was aiming for, popped it in a plastic bag to protect it, then stretched the cowl over it and left it to dry.
And it sort of worked!! There was definitely some stretch in the width, so it didn't feel quite so constrictive - but there was still that rolled edge that still rolled outwards...
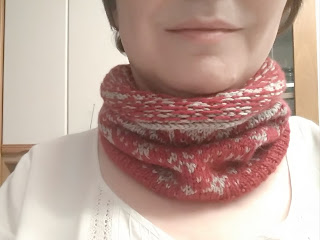
I tried it on and realised, if I wore it upside down, the rolled edge would actually sit neatly against my collar bone, leaving the neater, cast on edge at the top.
I decided to leave it as it was and show my friend and see what she thought. And she was perfectly happy with it! (Thank goodness!)
So the moral of all this is, CHECK YOUR TENSION PROPERLY. If you guesstimate, you may guess wrong! And check which yarn sits at the top as you work. It isn't the dominant colour!
I have since read that because the yarn held underneath doesn't have as far to travel before it reaches the nect stitch, that a tiny fraction more yarn goes into the stitch itself, making it a fraction bigger than the background stitch, which helps it stand out. The background yarn has to cross over the dominant yarn before it reaches the next stitch, leaving a fraction less yarn to go into the stitch. Obvious when you know.
On the whole, I am happy with it and might even make another one day. Maybe even in 4 ply!!!
But my Foray into 4 ply Fairisle is a whole different adventure!!! That is for another day.
Should you be thinking of trying fairisle yourself, I really would recommend reading
Julie's tutorial first. I really wishI had re-read it raher than relying on a memory from several years ago! (She gives great tips on other aspects of knitting too - especially stitching things together.) And of course, there is a whole wealth of videos avaiilable online as well.
'Til next time!


