I read it carefully, I thought about it, I wondered how can I do that at home? I had a little search online and thought some more. The next day I popped into the craft shop and bought some textured paper in ivory - although the colour was actually a bit pale it was a starting point.
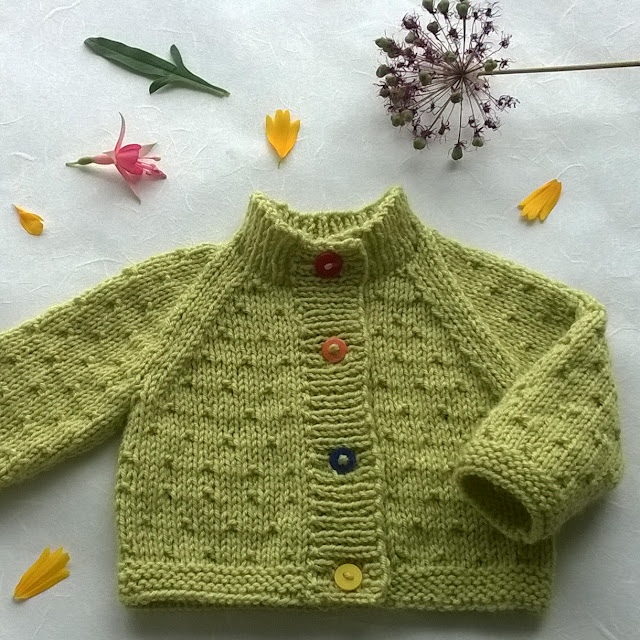
I was in the process of making a baby cardigan as a sample for the shop, so I took some pictures and look what it came out like -
And this is what it looked like before the picture was cropped -
Look okay?? Ideally it needs to be done by a north facing window to get the right lighting - we don't have that home as we face east west but I tried to make the most of what we had. It still needs a bit of work and took a few minutes to set up but it was great fun to do and I love the results! I just need to take new photos of everything I have for sale on folksy...
That's all for today. I haven't done much crochet this week as I've been trying to write the chart for my Tooty Stripey Blanket again - it's coming along but it's still got a long way to go I'm afraid. I take my hat off to the people who write crochet instructions - both written instructions and charts - it really is not as easy as it looks!!
Til next time, T xxx


I would love to read that article Tina. I struggle to get decent photos of some of my makes. I did purchase a piece of white board which I try and use but am not very good at placing props etc, Your efforts look really good. I am starting a photography course in Stockbridge in September once I retire so hopefully my photography skills will i prove.
ReplyDelete