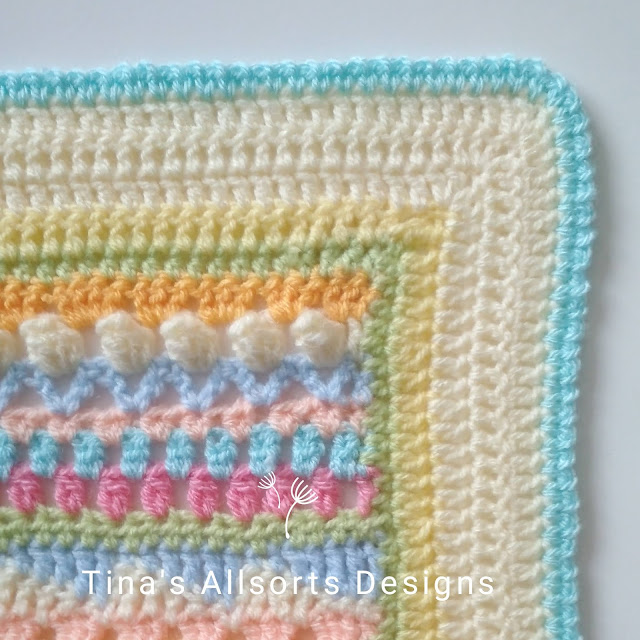
The centre panel was finished and then I started trying out different borders. Nothing too flashy this time - it's a busy blanket and I don't want the border to detract from it. My original version had a multicolored border but I realise now it was probably a bit much. But it was as much to do with not having enough yarn in one colour and I didn't want to buy another ball.
So I've gone for a very simple border that's similar to the original. Along the way though, I've been trialling some different edgings too and taking pics of each. After all, you might not want a simple border.
Would you like to see?
This first one is rows of trebles, topped with the flower pattern from the blanket - but strictly speaking, it isn't reversible as an edging.
Then I tried same treble rows topped with moss stitch. You may need to go up a hook size for the moss stitch though - at least I do!
Try trebles followed by a row of dc+ch 1 in every stitch -
You could even add pompoms!
This next one is made from two rows of dtr 'bobbles' worked in the same colour, so you get bobbles on both sides.
As mentioned though, my pattern sample, has been finished much like the original, with rows of granny stitches and a contrast edging but this time with one colour and a contrast edge.
The finished pattern is a little way off yet. I need to take some photos to go with the instructions - then go back to drawing the chart.... then join all the different sections together into a cohesive pattern...
So watch this space. Still...


No comments:
Post a Comment